How to Plant a Bare-Root Apple Tree in Autumn
Bare-root apple trees are the best value in fruit growing. Lifted from the nursery field while dormant and sold without a pot of compost around their roots, they cost less than container-grown trees and settle in fast — provided you plant them at the right moment. That moment runs from leaf fall to bud burst, roughly November to March. Autumn is the window most growers choose, and with good reason.
Planting a bare-root tree is not difficult, but it is unforgiving of a few basic errors. Get the depth right, keep the roots damp, and give the tree a little attention in its first year, and it will reward you for decades. Rush it, bury the graft union, or leave it to fend for itself in wet clay, and you will spend the next few seasons wondering why it never thrives.
Why autumn planting works
An apple tree's roots do not stop working when the leaves drop. In soil that is still holding summer's warmth they keep extending, healing and drawing on the tree's reserves, so a November planting gets three or four months of quiet establishment before it is asked to push out leaves and blossom. A tree planted in late March has to do everything at once, and often sulks for a season as a result.
There is a second advantage: autumn rain. The soil is usually moist but not waterlogged, and the tree needs little or no supplementary watering until spring. By the time dry weather arrives, the roots have already begun to knit into the surrounding soil.
Two conditions are worth respecting. Never plant into frozen ground, and be wary of ground that is standing wet. On heavy clay after a wet November, heel the tree in and wait for a drier spell. To heel in, dig a shallow trench, lay the tree at an angle, cover the roots with soil and firm it. Bare roots keep well for weeks as long as they stay damp. You can also heel in a tree that arrives before you have prepared its final position.
If the ground is frozen or under water, do not force it. Heeling in is a temporary measure that keeps the tree alive and dormant until conditions improve.
Choosing the right tree
Two choices matter more than variety: rootstock and form. The rootstock is the root system your chosen variety is grafted onto, and it decides how large the tree will eventually grow, how quickly it crops, and how well it tolerates different soils. Pick that first, then pick an apple you actually like eating.
The main rootstocks for garden trees are:
- M27 – very dwarfing. Suits a large pot or a small bed, needs permanent staking. Space 1.5–2 m apart. Crops young but yields are small.
- M9 – dwarfing and the most popular garden choice. Reaches roughly 2–2.5 m. Space 2.5–3 m, and stake for life. Good for small gardens and cordons.
- M26 – semi-dwarfing, about 3 m tall and cropping earlier than MM106. Space 3–3.5 m. A good compromise for a modest garden.
- MM106 – semi-vigorous, around 4 m. Tolerates poorer soil and grass competition better than M9. Space 4–5 m.
- M25 – vigorous, 4.5 m or more. Best for large gardens, orchards or standard trees. Space 5–6 m or more.
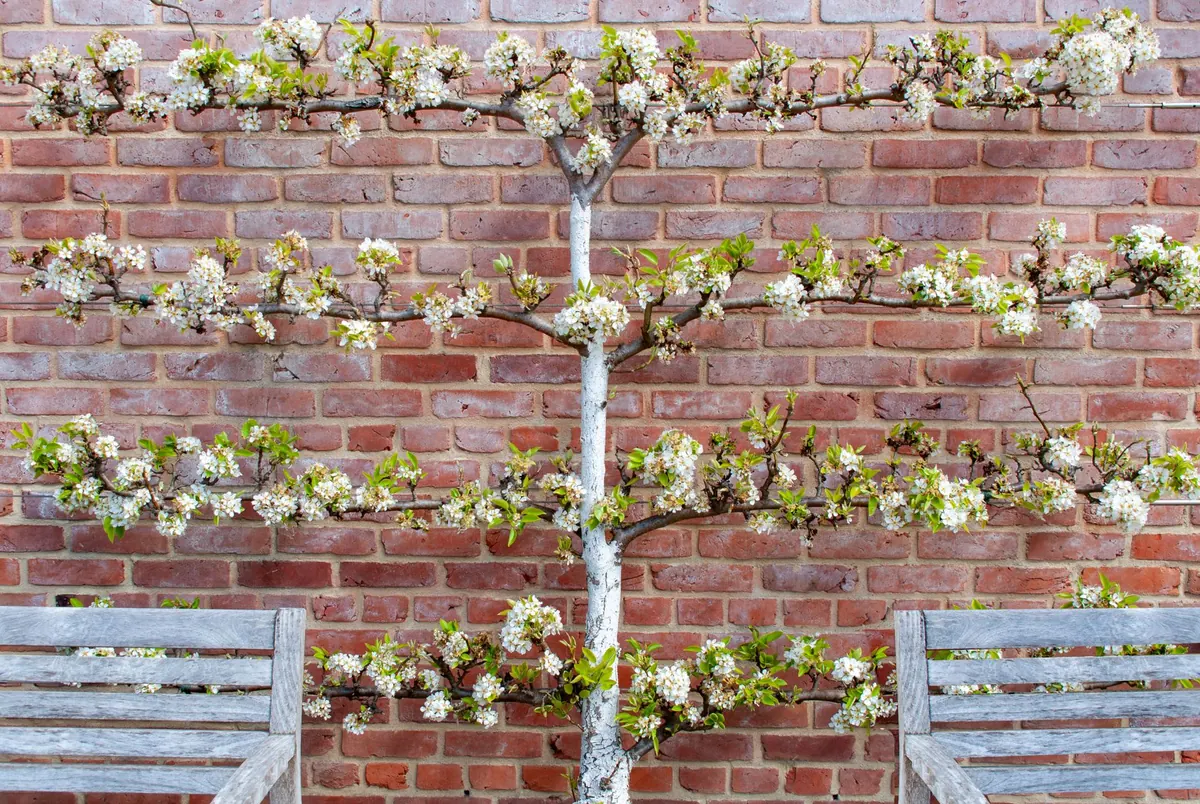
Form determines the shape you buy and how you train it. A bush is the classic open-centred tree, easy to manage and good for most gardens. A half-standard has a clear trunk of about 1.2–1.5 m, so you can walk or mow beneath it. Cordons and espaliers are space-saving forms for walls, fences and small plots, but they need annual pruning and a permanent support structure.
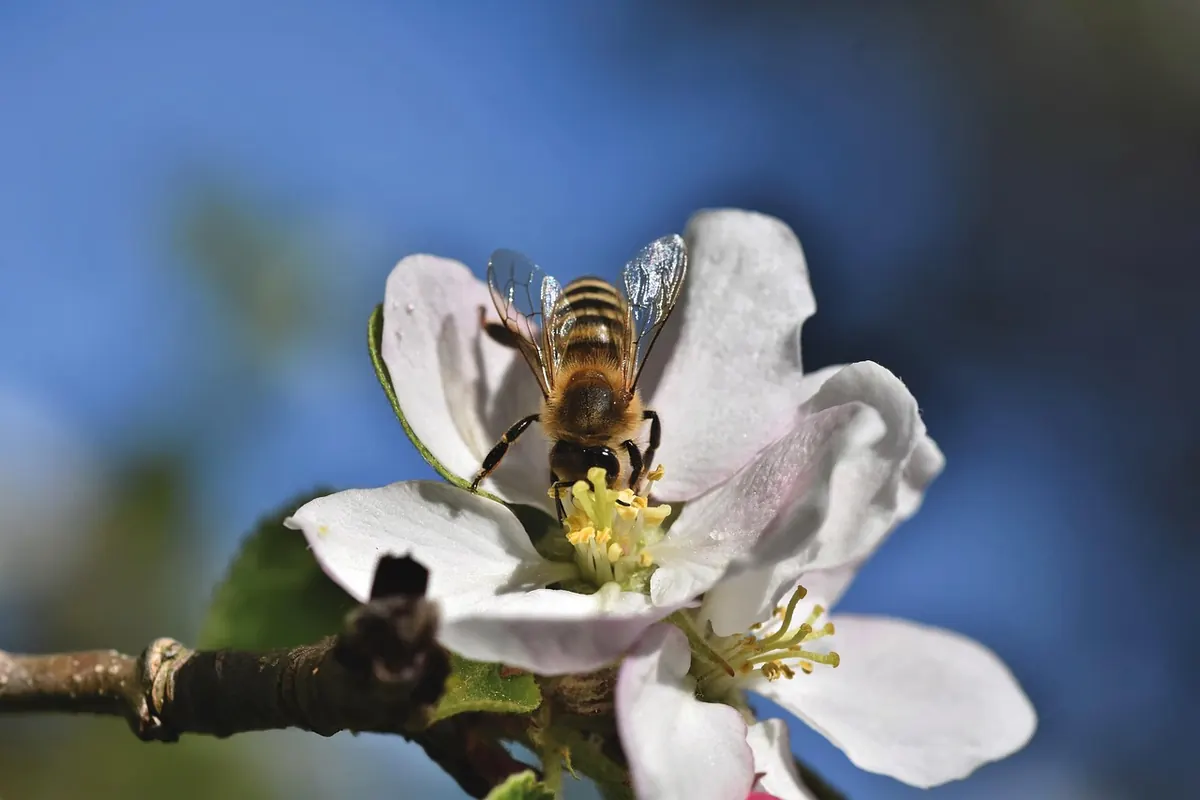
Also consider pollination. Most apples need a compatible partner flowering at the same time. Check the pollination group (usually 1 to 6) and choose a variety from the same group or an adjacent one. Some varieties, such as ‘Discovery’ and ‘Greensleeves’, are partially self-fertile, but even they crop better with a partner. If space is tight, a family tree — two or three varieties grafted onto one trunk — solves the problem neatly.
Before you dig: site and soil preparation
Apples want sun. Aim for at least six hours of direct light a day, and avoid frost pockets where cold air settles in spring and can damage blossom. A little shelter from strong winds helps, but avoid deep shade cast by buildings or mature trees.
Check drainage before planting. Dig a hole about 30 cm deep and wide, fill it with water, and see how long it takes to drain. If the hole is still full after a few hours, choose another spot or plant on a raised mound. Apples dislike permanently wet roots far more than they dislike dry soil.
Clear perennial weeds, especially couch grass and nettles, from a circle at least 1 m across. Dig the area over, but do not add a rich pocket of compost directly beneath the roots — this can encourage the tree to circle its roots rather than spread out. Instead, improve the whole planting area with well-rotted organic matter, and save the compost for a mulch after planting.
How to plant, step by step
- Soak the roots. Stand the tree in a bucket of water for an hour or two before planting. If the roots look dry, soak them for longer, but never leave them submerged for days.
- Dig the hole. Make it wide enough to spread the roots without bending or cramping them — usually 60–90 cm across — and deep enough to take the roots comfortably. Keep the topsoil and subsoil in separate piles.
- Check the depth. This is the most important step. Look for the graft union, the knobbly join where the variety meets the rootstock. It must sit 5–10 cm above the final soil level. If you bury it, the variety may root and the rootstock’s size control is lost.
- Form a mound. Fork a little topsoil into a low mound in the centre of the hole. Set the tree on it and spread the roots evenly around and downwards.
- Backfill. Replace the topsoil first, working it between the roots with your fingers. Add the subsoil after. Firm gently with your heel as you go, but do not stamp hard — you want to remove air pockets, not compact the soil to concrete.
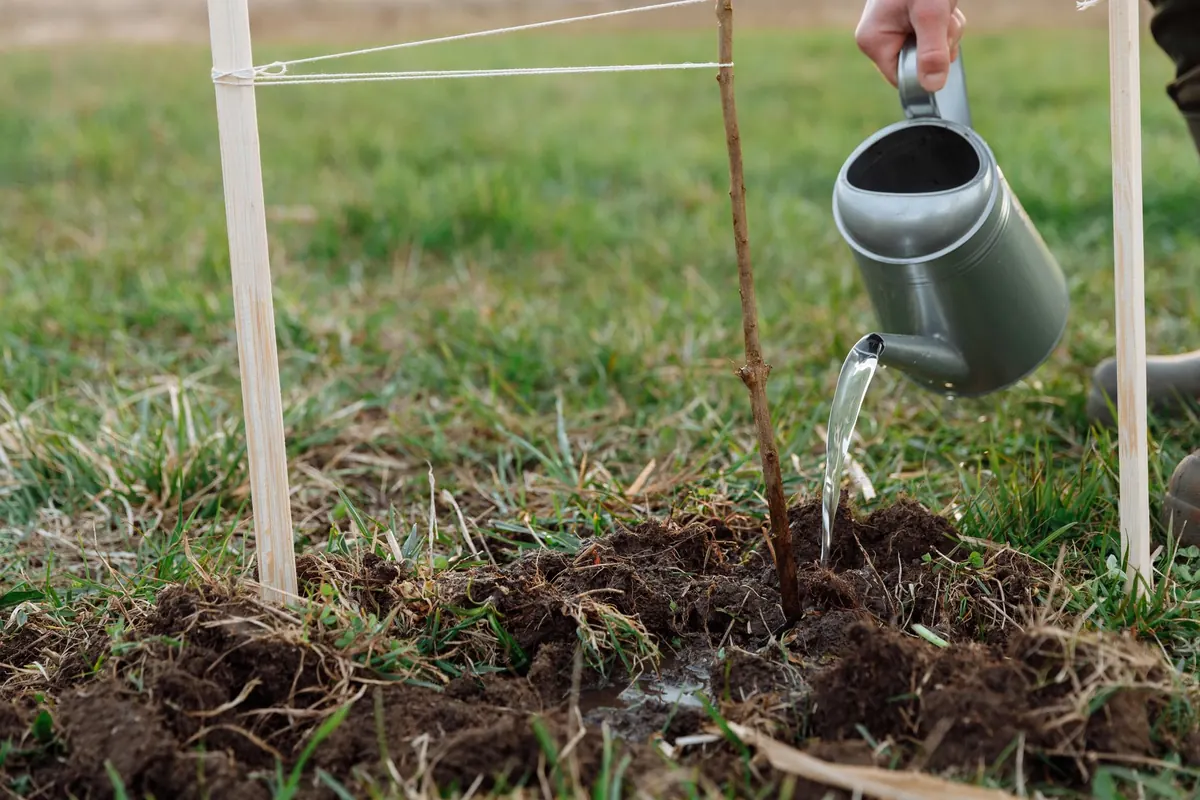
- Water. Give the tree a thorough soaking, even if rain is forecast. This settles the soil around the roots.
- Stake. For dwarfing rootstocks, drive a sturdy stake into the ground before or just after planting, on the windward side. Tie the tree with a soft, adjustable tie in a figure-of-eight to prevent rubbing.
- Mulch. Spread a 5–8 cm layer of well-rotted compost or bark around the tree, keeping it clear of the trunk. Mulch conserves moisture, suppresses weeds and feeds the soil.
- Protect. If rabbits, deer or voles are a problem, fit a spiral tree guard or a wire mesh collar around the trunk.
Aftercare in the first year
Water new trees in dry spells for at least their first two summers. A deep soak once a week is better than a daily sprinkle. Keep a weed-free circle around the trunk — grass and weeds compete fiercely for water and nutrients.
Check ties and guards regularly. Ties that are too tight can strangle the trunk as it thickens; guards can rub if they are not seated properly. Prune lightly in winter to remove dead, damaged or crossing branches, but do not try to shape a young tree too hard in its first year. Let it establish.
Feed in early spring if growth is weak, but avoid high-nitrogen fertilisers around the trunk. A mulch of well-rotted manure or compost is usually enough for a young tree on a decent soil.
Common mistakes to avoid
- Planting too deep. Burying the graft union is the classic error. The tree may survive, but it will never perform as it should.
- Letting roots dry out. Bare roots are fragile. Keep them wrapped and damp from the moment they arrive until they are in the ground.
- Skipping the stake. Dwarfing rootstocks like M9 and M27 need permanent support. An unstaked tree rocks in the wind, and the roots never establish properly.
- Planting in a bog. Apples hate waterlogged soil. If drainage is poor, plant on a mound or choose another site.
- Competing with grass. Young trees cannot compete with a lawn. Keep the immediate area clear for the first few years.
The reward
A bare-root apple tree planted well in autumn is one of the most generous things you can put in a garden. It costs less than a container-grown tree, establishes faster, and with a little care will crop for decades. Choose the right rootstock, plant at the right depth, and let the autumn rain do the rest. The first proper harvest may be two or three years away, but the tree itself will start to look settled by the following summer — and that is the sign that you got it right.
Photo: Thirdman / Pexels