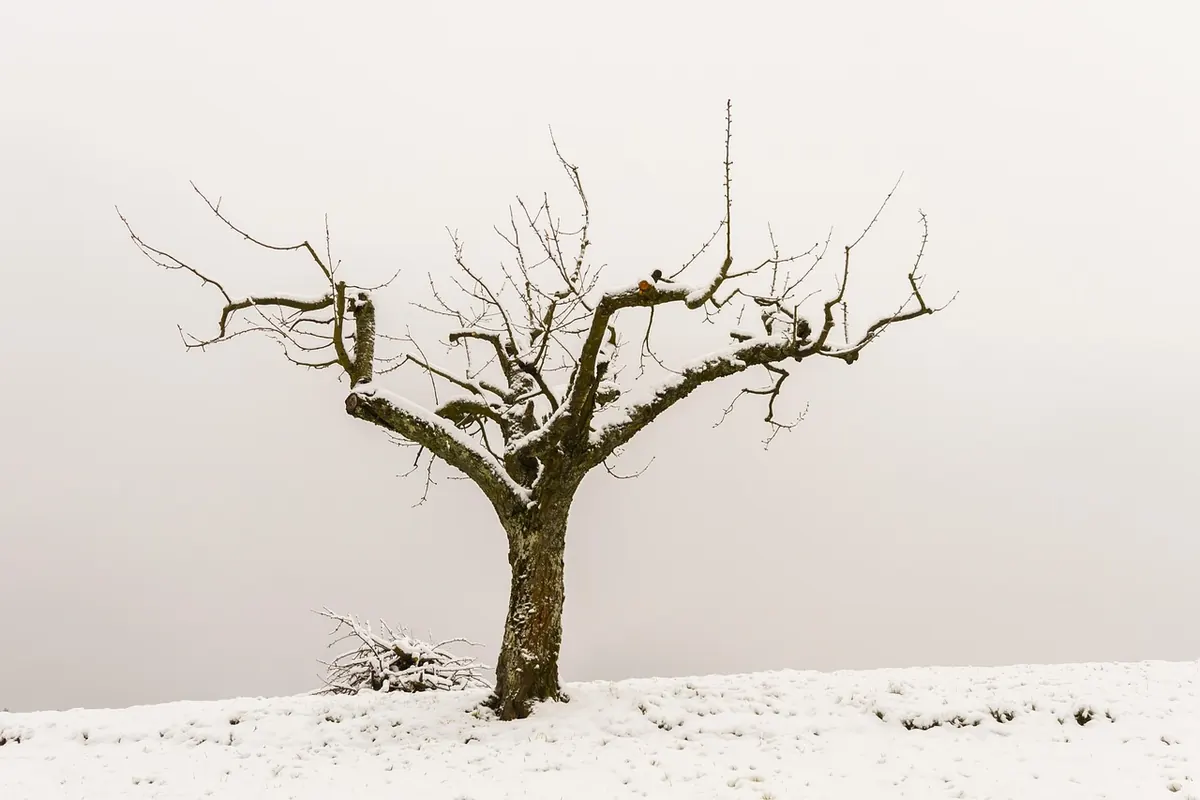
Midwinter, the garden looks asleep, but this is the best time of year to get to grips with an apple or pear tree. Without leaves in the way, you can finally see what you are doing: which branches cross, which have died back, and where the tree is heading. Prune now and you shape next summer's fruit before it has even broken bud. The good news is that you do not need years of training. A straightforward routine, repeated each year, will keep an established tree healthy, productive and a sensible size.
Why prune in winter?
From leaf fall to late February, most apples and pears are dormant. Cuts made now heal steadily once growth restarts in spring, and the tree's structure is easy to read. Winter pruning also encourages vigorous new growth, which is exactly what you want from a tree that has become tired and crowded.
There is a trade-off worth knowing. Hard winter pruning pushes out leafy shoots the following season, while summer pruning slows growth and helps fruit ripen. So use winter for building the shape of the tree, and reserve heavier summer trimming for taming an over-large one. Aim to prune on a dry, mild day when rain is not forecast for a day or two, and sharpen your tools before you start. Blunt secateurs bruise wood and leave a ragged wound that is slower to seal.
Know your tree's framework
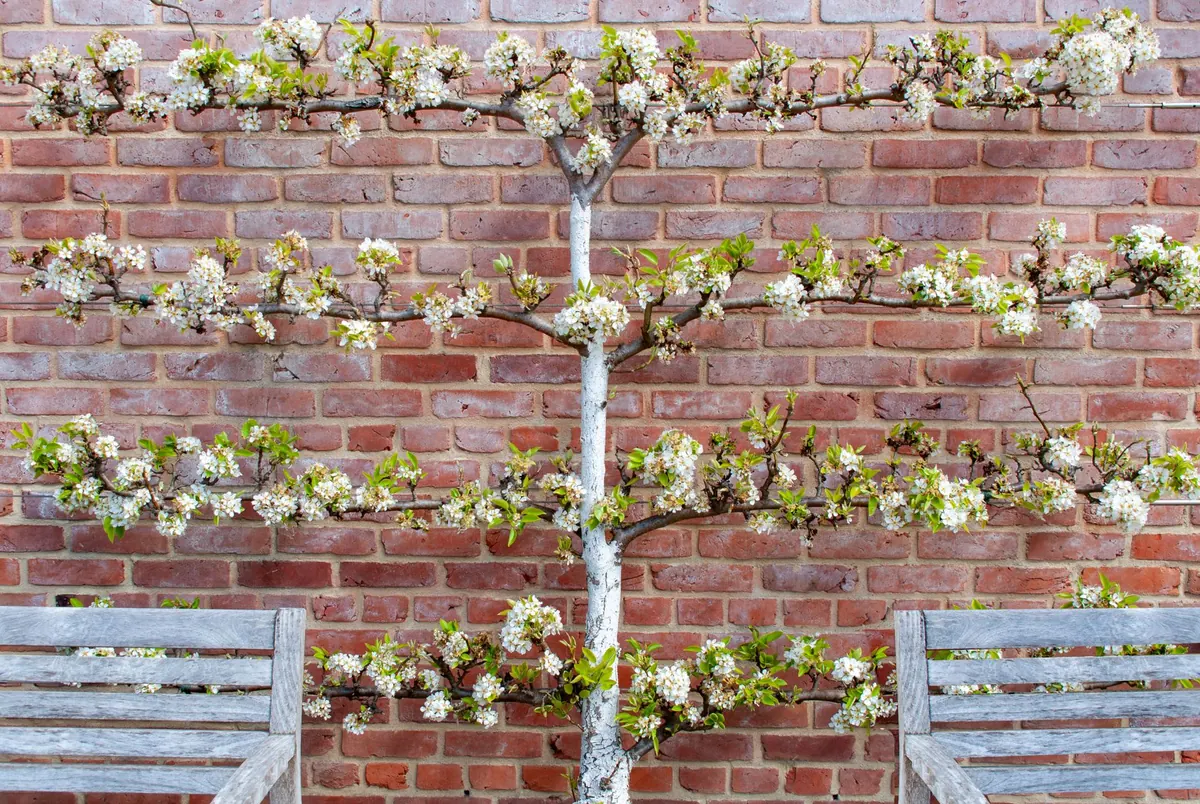
Every established tree has a permanent skeleton: a short trunk and a set of main branches that carry the fruit. Everything else is either temporary wood or a problem waiting to happen. Learning to recognise the difference is the single most useful skill in pruning.
- Main framework branches are thick, well spaced and angled outwards. There are usually eight to ten of them. They stay for years. Resist cutting them unless one is damaged or badly placed.
- Secondary branches grow from the main limbs and carry fruiting spurs. Thin these out gently, keeping the strongest and best placed.
- Shoots from last summer are thin and whippy, often growing straight up. Most of these can go, unless you need one to fill a gap.
- Fruiting spurs are the short, stubby growths clustered along older wood. They look unremarkable and carry next year's blossom. Leave them alone.
A useful test before any cut: does removing this branch let light and air into the centre of the tree, or does it simply make the tree smaller? Light is what ripens fruit and keeps disease at bay. A tree you can almost see through is a tree doing well.
The step-by-step routine
Work through these stages in order. Stop whenever the tree starts to look open and uncrowded, even if you have not finished every step.
- Clear the rubbish. Remove dead, diseased and damaged wood back to healthy growth. Dead branches are dull brown inside; live wood is pale green or cream. Diseased wood should go in the bin or the fire, not the compost heap.
- Take out the three Ds' companions: crossing, rubbing and inward-growing branches. Where two branches rub, one will wound the other, opening a door to canker. Keep the better placed of the two.
- Open the centre. On a bush or open-centred tree, remove one or two of the branches crowding the middle, cutting them back to their point of origin on a main limb. On a pear, which tends to grow upright, this matters more than on most apples.
- Shorten the leaders. Where a main branch has made a long, unbroken extension, cut it back by roughly a quarter, to an outward-facing bud. This keeps the tree within reach and encourages branching lower down.
- Make renewal cuts. Look for an old, tired branch that has grown long and bare. Find a younger, well-placed shoot lower down the same limb. Cut the old branch back to that shoot and tie in the replacement if it needs support. Over three or four years you gradually rebuild the tree from within.
- Tidy the spurs. Remove only the weakest, most crowded spur systems, keeping the plump ones. This is fine work and rarely urgent; leave it for trees that are thick with old, weary spurs.
When you cut back to a bud, position the blade just above it, angled slightly away so water runs off. For larger branches, make a shallow cut underneath first, then saw from the top, so the bark does not tear as the branch falls.
What to leave alone
Restraint is a skill. A tree that is pruned lightly tends to fruit steadily; one hacked back hard each winter answers with a thicket of leafy shoots and very little fruit. Leave the following in place:
- Short fruiting spurs on apples and pears, however untidy they look.
- Young shoots growing in a suitable direction, which will carry fruit in a year or two.
- Water shoots, the vigorous growths that spring straight up from a main branch, if one is well placed to replace an old limb. Shorten it and let it mature rather than removing it.
- Branches you simply cannot decide about. Mark them with a loose tag and reconsider next winter. A tree rarely suffers from a year's delay.
On a neglected old tree, spread the work over three or four winters. Removing a third of the excess each year is far kinder than one drastic session.
A final word on technique
Stand back every few cuts and look at the whole tree, not just the branch in front of you. Cut cleanly, keep your tools sharp, and stop while the job still looks modest. Pruning is not a one-off rescue; it is a conversation with the tree that continues each winter. Do a little, do it well, and the fruit will tell you whether you got it right.
Photo: adege / Pixabay